Pages

Showing posts with label upcycle idea. Show all posts

Tuesday, August 8, 2017

Lanyard to CUP HOLDER

Have you seen those Yeti - like cups that keep your drinks ice cold or steamy hot for hours???  I LOVE those things.  And, in my opinion, they REALLY do work at keeping my drinks at the temp I want.  Anyway, while wasting my afternoon on YouTube, I saw this video and and this one, they made me think I could do something like that with a lanyard. My husband (AKA biggest Virginia Tech HOKIE fan on the planet!) had an old VT lanyard that he didn't use any more so I thought, and thought, and thought..... it COULD be made into a cup holder.

This is what the original lanyard looked like.  I forgot to take a picture before cutting it, so this was after the initial cut!


First I measured the distance around the top and bottom of the cup.  


I made sure the strap was VERY TIGHT at each part, and to leave a little space to sew the next part on. 


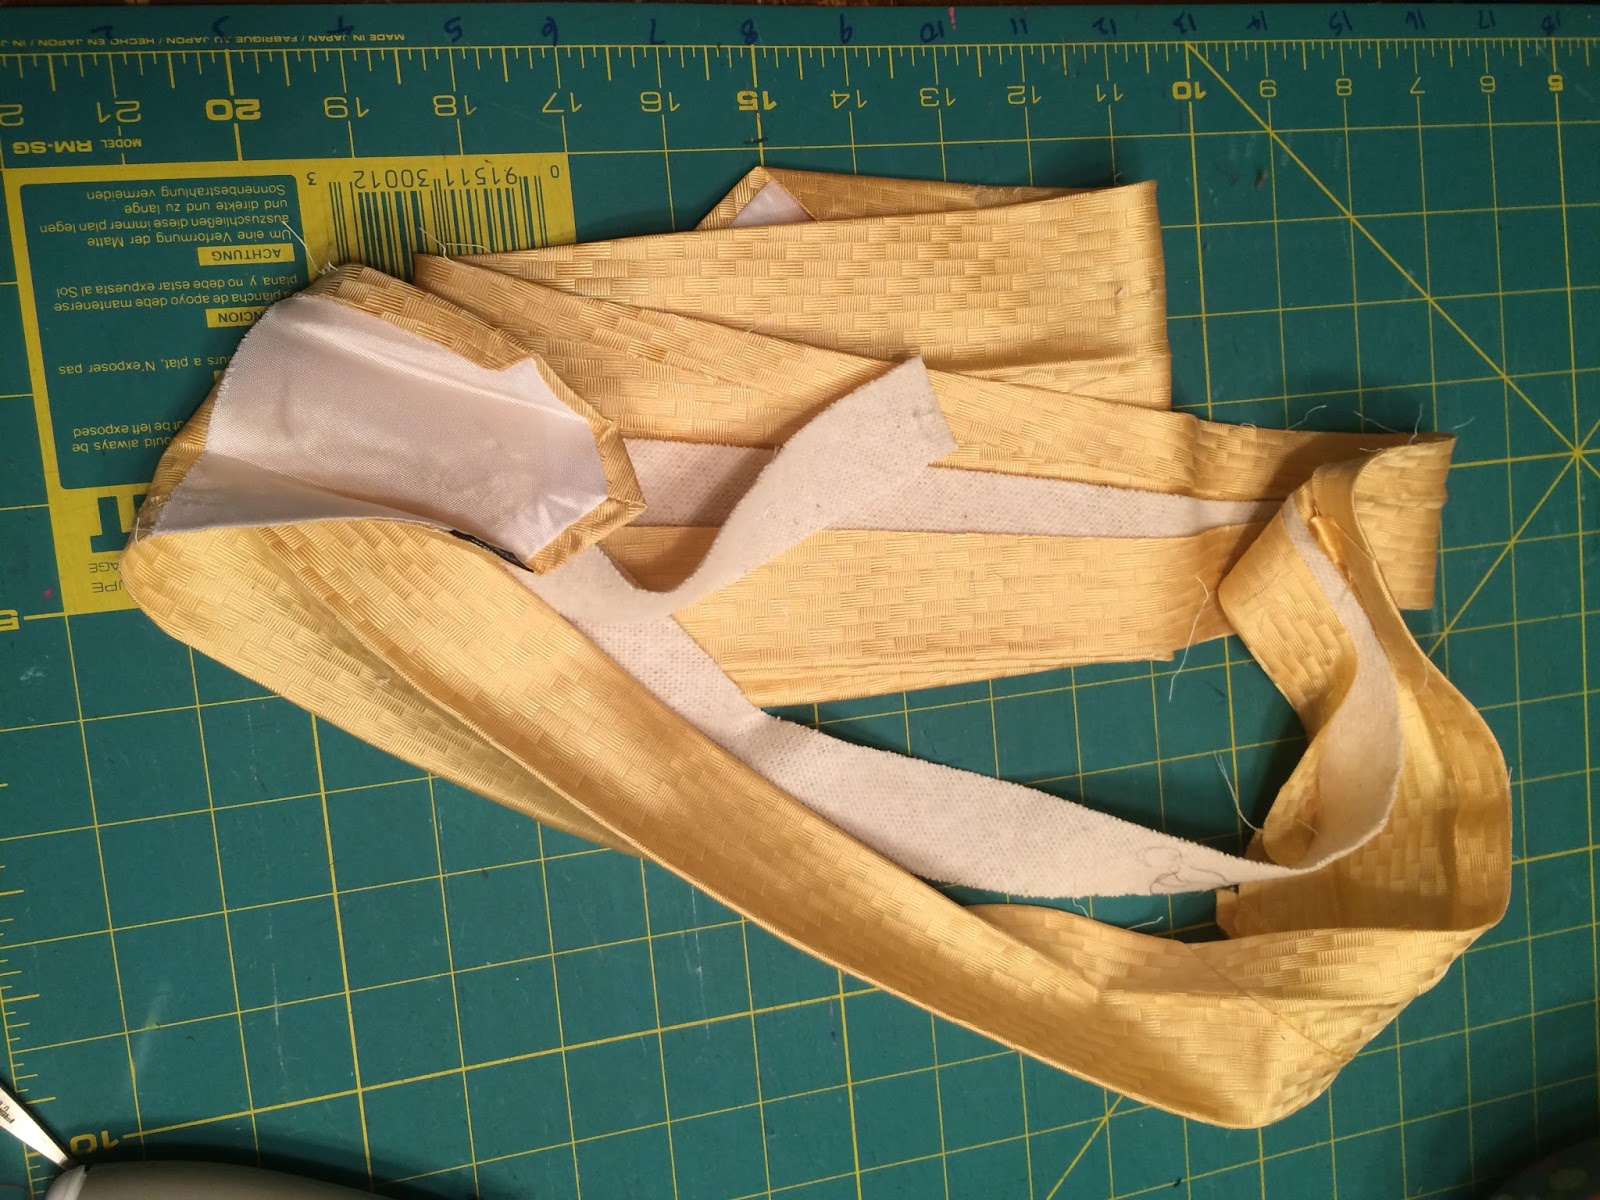
These are the sections that I cut. The one near the bottom of the cup, the one with the clip on it, is extra.  Didn't use that part, I'm saving it for another project! 


Of course I forgot to take pictures of me sewing the straps together, but you can see from the following pictures that I made sure each strap was positioned correctly (the words were facing the right way!) and hand sewed the handle to the the top and bottom strap.  It isn't prefect, but it works.  I need to find another way to do the last step to make it look better.  
Final project!!  He loved it. 


Thanks for looking. 
Have a great day.

Cathy
 

Wednesday, September 9, 2015

Have CAPE will Craft!!!

A couple years ago we had a family reunion at Hershey Park in Pennsylvania.  We had a great time enjoying the rides and tasting all the chocolate!  My daughter (the shorter Super Girl) and her cousin won these SUPER cute capes.  They had a great time walking around the park and the hotel with them on.  
Up, Up and away.......
 My husband even took a turn!!! He tried to fly around the park, but didn't get very far!  The kids loved this one! 

My daughter found her cape in her (very messy) bedroom this week and was going to throw it out.  I KNEW I could do something with it so put it in my "to do" pile.  

A basket, who doesn't need an extra basket to put STUFF in??!!  I went back to YouTube and watched Whitney Sews tutorial on her fabric baskets.   Easy peasy!!  

 
So stinkin cute!!!  I wanted to keep it for myself, but she took it as soon as she saw it.  

 The inside is from a white cotton sheet I bought at Goodwill.  It was only $3.00 - bargain! 

The back is plain.  I love it.  

Thanks for looking, 
Have a great day. 
Cathy

Sunday, August 30, 2015

Neck Tie to Camera Case

My favorite color is yellow and my favorite flower is the sunflower.  It just seems so HAPPY even when the flower seems to be hanging it's head down, the yellowish/orangeish flower makes me think it is happy about something.  

I found this AWESOME men's necktie at Goodwill and had to have it.  


Sorry about the colors, not sure why one seems darker.  Anyway, I knew I would be able to make SOMETHING from this fabulous tie.  

The first thing I did was take some really sharp scissors and split the tie up the back seam.   The tie opened up to a pretty good sized piece of fabric.  
I forgot to take pictures of the sunflower tie so I had another one that I'll show how to 
 open up. Start with a pair of sharp, small scissors.

Start snipping up the back seam, very carefully. 


You will see the flexible stabilizer hidden inside the tie.  Keep snipping all the way up the back seam.  
Taaa Daaa!!  
I separated the inner part from the cute yellow fabric.  
 Next you have to take off the white part from both ends of the fabric. 

Again, use sharp scissors and go slowly.  
Finally I ironed the fabric and you will see that there is big piece of fabric that can be recycled. 


 I LOVE the way it turned out.  The little yellow "tabs" you see are the ends of the black handles, that is where I sewed them together.  That is the worst part of the project, but wasn't sure how else to secure the ends.  I think I'll have to take another look at the situation!  The black handle is from my dog's broken retractable dog leash.  It was pulled all the way out and wouldn't go back in.  When it happened I put the leash away in a closet knowing I would be able to use it for something.  It worked out perfectly for this project. 
My camera fits perfectly in the new case!  Love it.  


There is even enough room for my accessories in the case.  

Can't wait to try this type of project again.  

Thanks for looking.  
Cathy

Thursday, June 11, 2015

Repurposing a Man's Neck Tie


I have a new fascination with zippers!!  Not sure how this happened but I've been looking on Pinterest and YouTube for any ideas that use zippers.  One that I came up with was to re-purpose a man's neck tie to something else. 

I started out with this Virginia Tech tie I bought at Goodwill.  It was about $3.00

Next I opened up the tie from the back.  I forgot to take a picture of this part, but it opens up to a rather wide piece of fabric.  Iron it flat and added some interfacing to make it a little stronger.

The end product was a small wallet that is almost big enough to hold my husband's iPhone 6.  I forgot to add some extra length in the zipper end so it didn't open up wide enough for the phone.

This is the inside, added some orange fabric that I had in a stash!


Tadaaaaa the final product!! It turned out pretty cute.

Thanks for looking
Have a great day.
Cathy

Friday, August 16, 2013

iPad Carrier

I wanted to make my own IPad carrier to use when substituting.  I started with a book that I found at Goodwill for just $2.00!!  Love that bargain.  Make sure the book is a little bigger than the IPad so there is some extra room to protect the IPad.  This was a perfect size.  
Next I used my rotary cutter to take out all the pages.  This made quite a mess, so I would advise doing it outside or doing this over newspaper or something like that. 
Next I just measured the book and cut the outside fabric for the carrier.  I also added an old kitchen towel to the inside as some extra padding.  Unfortunately I didn't take a picture of that step.  Just trim and hot glue the towel inside and you're good to go. 

Next I added the inner fabric to cover the towel.   I also sewed in a small pocket so I could carry my Smart Board adapter.  
Finally, the handles.  I needed a way to keep the IPad securely in the holder and had a handle attached.  This was my solution.  Not sure if it the best way but I like it.  The strap around the sides hold it securely in the holder.  I can easily take the IPad out without unbuttoning the side straps too.  

I like the final product.  So cute, and the other teachers are so jealous of this!!!  LOL!
The final cost of the project was about $2.00, I had the fabric, and the old kitchen towel on hand. Only had to buy the old book.    
Thanks for looking, have a great day.
Cathy

Saturday, October 13, 2012

Addition to Shower Curtain Rings....

 An addition to a previous post about a bathroom update!!!  After updating the shower curtain rings I thought I should improve on the shower curtain.  Click here to see curtain ring update.  The white one we had was about 15 years old.   It wasn't very exciting and just needed a slight kick in the pants!!!  LOL.  So I found a bunch of fabric scraps that I had around the house and "quilted" together a new curtain. 


You can see the flowered rings and my new curtain.  I'm glad you can't get too close to it to see all the tiny mistakes that I made!! 
 The white scrap in the middle of the picture below is the old curtain.  Thought it wouldn't be bad to reuse a piece of the old one. 
 The white fabric at the top (that the rings are hanging from) is my old curtain.  I used that so I didn't have to add all the button holes!  Made it a lot easier. 
Also, I use an extra curtain rod to hang towels from.  I like it better than having the towels over the actual curtain rod, I feel like the bath towel doesn't get totally dry if it is touching the wet shower liner.  
I know what you are thinking - she is really weird!!!  Guess so! 

Thanks for looking, 
Have a great day, 
Cathy

Tuesday, October 2, 2012

Kitchen Hand Towels

While looking around on PINTEREST I saw these super cute dish towels. My first thought was "I can do that...." No problem! Except I don't have the patience or the expertise to make these. Nor to do I seem to have the time!!
I love the look of these and this would make it so much easier to keep the dish towels off the floor! Check out the details here.

And then I saw another idea for keeping towels off the floor! Check it out here.
These are awesome ideas!!! However I am NOT that motivated to alter each towel!!! I needed an idea that was a little simpler, a little less work for me!

My first thought was to sew buttons and button holes on each towel. I love the look but again too much work!  Button holes AND sew on buttons - not enough time! 

There were a couple other ideas involved between this idea and the final creation, but I'm not brave enough to show them to the 10 people who may look at this! Not sure if this is a combination of a couple ideas or if I saw it somewhere while checking out blogs, but this is the best one for me. I thought of this as a way to create the strap on the oven door and not have to make alterations on each towel. The final result helps to keep the kitchen towels OFF the floor.  Anyone else have that problem??  Drives me crazy!


This is the towel holder with all the pieces taken apart. Makes it very easy to change towels out and since the straps are made from fabric scraps they can be washed and it is SO easy to make.


Not sure if this is enough details to show my ideas, but this shows the basics.  I hope!  :)

Thanks for looking, 
Cathy